Table of Contents >> Show >> Hide
- Before You Start: the tiny toolkit that unlocks most beginner woodworking projects
- 1) One-Board Coat Rack (Because Jackets Multiply)
- 2) Floating Shelf (The “Where Did the Brackets Go?” Shelf)
- 3) Simple Cutting Board (A Kitchen Upgrade You Can Finish in an Afternoon)
- 4) Cedar Planter Box (Outdoor-Ready and Surprisingly Forgiving)
- 5) Picture Frame (Make Your Art Look Expensive on Purpose)
- 6) Bookends (Scrap Wood That Finally Gets a Job)
- 7) Wall-Mounted Key Holder Shelf (Tiny Shelf, Big Life Improvement)
- 8) Step Stool (Short Person Luxury, Tall Person Convenience)
- 9) Countertop Wine Rack (Looks Fancy, Builds Simple)
- 10) Simple Birdhouse (A Tiny Cabin With Extremely Picky Tenants)
- Finishing Touches That Make “Beginner” Look Like “Boutique”
- of “Experience” You’ll Probably Have (and How to Enjoy It Anyway)
- Conclusion
- SEO Tags
Woodworking has a weird reputation: either it’s “grandpa’s sacred craft” or it’s “that thing where you accidentally glue your sleeve to a board.” In reality, beginner DIY wood projects are just a handful of basic skillsmeasuring, cutting, drilling, sandingrepeated until something useful appears. This list is built for normal humans with normal tools and normal attention spans. No giant workshop. No mystical joinery rites. Just simple DIY wood projects anyone can make… and actually want to keep in their house.
Before You Start: the tiny toolkit that unlocks most beginner woodworking projects
If you have a tape measure, pencil, speed square, drill/driver, sandpaper (or a sander), and a saw (circular, miter, or even a handsaw), you can build every project below. Add clamps if you canclamps are basically extra hands that don’t complain. Safety note that isn’t boring: wear eye protection, and don’t “catch” a falling board with your fingers. Wood is patient. Gravity is not.
1) One-Board Coat Rack (Because Jackets Multiply)
What you’ll need
- 1 board (1×6 or 1×8), wall hooks, screws, wall anchors or studs, sandpaper
- Optional: stain/paint + clear coat
How to build it
- Cut the board to your wall space (30–48 inches is a sweet spot for most entryways).
- Sand edges and faces, then finish it (or leave it raw for the “I live in a cabin” vibe).
- Mark hook spacing, pre-drill, and attach hooks.
- Mount the rack into studs if possible; if not, use appropriate wall anchors.
Beginner win: Straight cuts and simple hardware make this a confidence-builder that also reduces the “coat chair” problem.
2) Floating Shelf (The “Where Did the Brackets Go?” Shelf)
What you’ll need
- 1x boards for the shelf box, small cleat/frame pieces, screws, stud finder, level
How to build it
- Build a wall-mounted cleat (a simple frame anchored to studs).
- Create a hollow “box” shelf that slides over the cleat (top, bottom, and two sides).
- Slide the box onto the cleat and secure from underneath with a couple screws.
Pro tip: If your shelf wobbles, the issue is usually the cleat not hitting studs or the box being slightly oversized. Trim, test-fit, repeat. This is woodworking’s love language.
3) Simple Cutting Board (A Kitchen Upgrade You Can Finish in an Afternoon)
What you’ll need
- Hardwood board (maple, walnut, cherry), food-safe mineral oil (or board conditioner), sandpaper
How to build it
- Cut your board to size (try 8×12 inches for a starter).
- Round edges slightly with sandpaper to make it hand-friendly.
- Sand progressively until smooth (don’t stop earlyyour hands will remember).
- Condition with food-safe mineral oil; let it soak, then wipe off excess.
Kitchen reality: Avoid cooking oils like olive oil on boardsthey can go rancid. Stick to food-safe mineral oil or a mineral oil + beeswax conditioner.
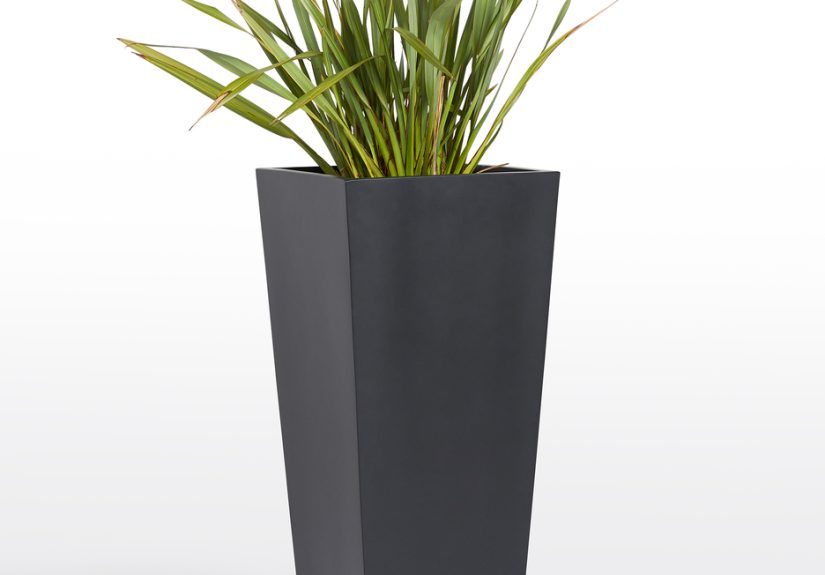
4) Cedar Planter Box (Outdoor-Ready and Surprisingly Forgiving)
What you’ll need
- Cedar or pressure-treated boards, exterior screws, drill, saw, landscape fabric (optional)
How to build it
- Cut four sides and assemble a rectangle with exterior screws (pre-drill to prevent splitting).
- Add a simple bottom (slats with small gaps) or line the inside with fabric if it’s purely decorative.
- Sand rough corners, then finish (or leave cedar to weather naturally).
Pro tip: Cedar is naturally rot-resistant, which is why it shows up in so many planter guides. If you paint pressure-treated wood, let it dry thoroughly first.
5) Picture Frame (Make Your Art Look Expensive on Purpose)
What you’ll need
- 1×2 (or similar) trim boards, wood glue, brad nails or small screws, hanging hardware
How to build it
- Measure your print and cut four pieces with 45° miters (or do straight butt joints if you’re avoiding miters today).
- Glue corners and clamp; reinforce with brads, small screws, or corner braces.
- Add a simple backer (thin plywood or cardboard), then attach hanging hardware.
Beginner trick: Paint hides a multitude of “my miter was emotionally close to 45°” moments.
6) Bookends (Scrap Wood That Finally Gets a Job)
What you’ll need
- Two L-shaped pieces (wood + a base), glue/screws, optional decorative face piece
How to build it
- Cut two bases and two upright backs (small and chunky works best).
- Attach uprights to bases with glue and screws from underneath.
- Add weight if needed (a hidden metal plate or heavier base wood helps).
Make it personal: Customize shapes (letters, mountains, arches) with a jigsaw, or keep it clean and modern with simple rectangles.
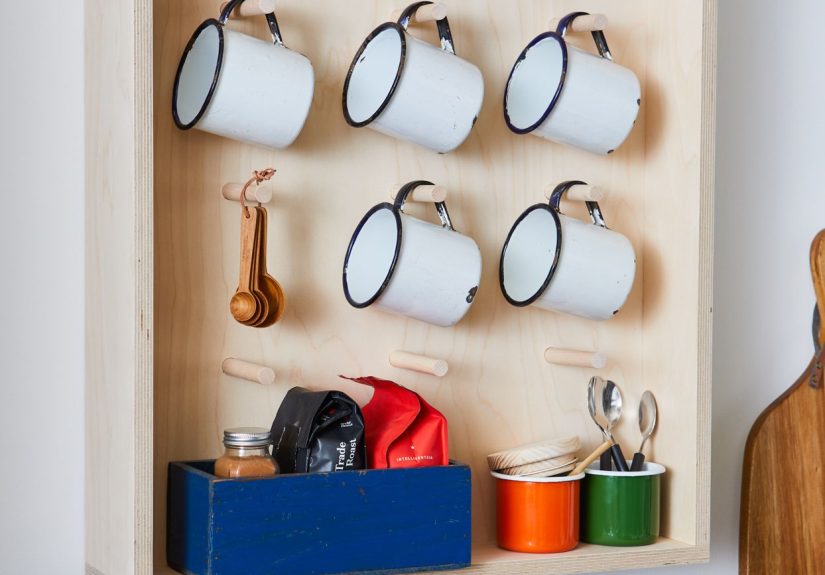
7) Wall-Mounted Key Holder Shelf (Tiny Shelf, Big Life Improvement)
What you’ll need
- Small board, a thin lip strip (optional), key hooks, screws, wall anchors or studs
How to build it
- Cut a small shelf (about 16–24 inches wide).
- Add a thin front lip to stop mail from doing a dramatic slow slide to the floor.
- Attach hooks underneath for keys, then mount to the wall.
Why it’s great: It’s fast, functional, and makes your entryway look like you have your life together.
8) Step Stool (Short Person Luxury, Tall Person Convenience)
What you’ll need
- 2x stock or sturdy boards, screws, wood glue, sandpaper; optional pocket-hole jig
How to build it
- Cut two sides, a top step, and supports (keep it boxy for easiest construction).
- Glue and screw supports to sides, then attach the top step.
- Sand edges thoroughlyyour shins deserve peace.
Safety tip: Make sure the stool doesn’t rack (twist) under load. If it wobbles, add a stretcher or diagonal brace underneath.
9) Countertop Wine Rack (Looks Fancy, Builds Simple)
What you’ll need
- Four main parts (simple pattern pieces), wood glue, sandpaper, finish
How to build it
- Cut the sides and supports (you can trace a gentle curve with a round objectvery scientific).
- Sand everything before assembly; it’s easier when parts are flat on a bench.
- Glue and clamp, then finish with a clear coat or stain.
Hosting bonus: People will assume you know what “tannins” are. You don’t have to correct them.
10) Simple Birdhouse (A Tiny Cabin With Extremely Picky Tenants)
What you’ll need
- Exterior-grade wood (cedar is great), screws, drill, saw, weather-safe hardware
How to build it
- Build a basic box: front, back, two sides, floor, and a sloped roof.
- Drill an entrance hole sized for the bird you want (hole size matters more than style).
- Add drainage/ventilation holes, and make one panel removable for cleaning.
- Mount it securelystable beats “cute” every time.
Bird nerd note: Different species prefer different entrance hole sizes, and small changes can help discourage bigger unwanted visitors. Keep finishes minimal on the inside.
Finishing Touches That Make “Beginner” Look Like “Boutique”
- Sand in stages: Start rough, finish smooth. Rushing sanding is how splinters win.
- Pre-drill near edges: Prevents splitting and makes screws behave.
- Use the right finish: Exterior projects want exterior-rated sealers; food projects want food-safe options.
- Wipe-on finishes are forgiving: Great for first-timers who don’t want brush marks as a lifestyle.
of “Experience” You’ll Probably Have (and How to Enjoy It Anyway)
Your first “simple” DIY wood project will teach you one universal truth: lumber has a personality, and it’s sometimes moody. You’ll pick out the straightest board at the store, feel proud, bring it home… and discover it’s shaped like a gentle banana the moment you lay it on your floor. This is normal. The move is to sight down boards before buying, choose the straight ones, and remember that a little warp can often be bullied into place with clamps and smart assembly.
Next, you’ll discover that measuring is less about math and more about honesty. “Close enough” becomes “why does my shelf look like it’s sliding into another dimension?” fast. Mark your cuts with a sharp pencil, use a square to keep lines true, and cut on the correct side of the line. Beginners often “erase” their own accuracy by cutting right through the line. If you treat the line like a fencecut beside it, not through it your parts will fit more reliably.
Then there’s the great sanding revelation: sanding is not punishment; it’s the difference between “handmade” and “handled once, never again.” Many DIYers stop sanding when it looks okay, but wood is judged by touch. Running your hand along an edge will instantly tell you what your eyes missed. A good beginner rhythm is: sand, wipe off dust, feel the surface, then sand a little more where it still feels sharp or rough.
You’ll also have a finish moment. The first coat is magicalgrain pops, color deepens, suddenly your pine looks like it got a raise. The second moment is less magical: you notice a drip, a dusty speck, or a brush stroke that looks like a tiny wave. Don’t panic. Let it dry, lightly sand, wipe clean, and apply another thin coat. Thin coats beat thick coats. Thick coats look like you iced a cake with a shovel.
Finally, you’ll join the clamp appreciation club. Even if you think you can “just hold it,” you can’tbecause screws pull pieces slightly out of alignment, and glue needs pressure to bond well. Clamps make projects calmer, cleaner, and a lot more accurate. And when you don’t have clamps? You’ll improvise with painter’s tape, heavy books, or that one dumbbell you swear you’ll use more often. That’s DIY culture.
If you want the best beginner experience, keep projects small, finish one thing fully, and celebrate functional results. Your first coat rack doesn’t need to look like a museum pieceit just needs to keep jackets off the floor. And once you’ve built a few wins, the harder stuff stops looking scary and starts looking like a weekend plan.
Conclusion
The fastest way to get good at woodworking is to build small, useful things repeatedlythen upgrade one skill at a time. Start with the coat rack or cutting board, move to a planter or shelf, and before you know it you’ll be pointing at furniture saying, “I could make that.” (And then you will. Because now you’re dangerous.)