


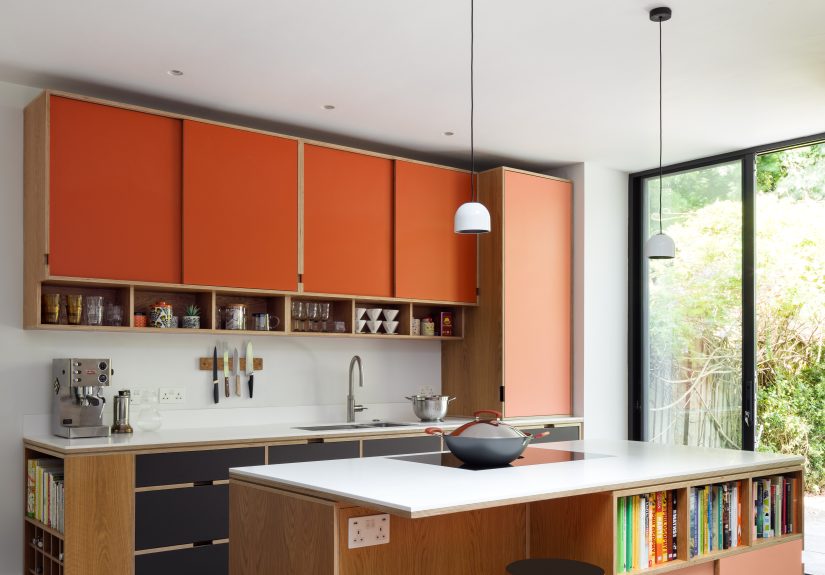
Looking for the best kitchen decorating style for your home? This in-depth guide explores modern, farmhouse, Scandinavian,...
Want to DIY a Disney’s Ariel mermaid costume that looks magical and still lets you walk like...
Why did Johnny Depp and Amber Heard’s courtroom expressions become such a huge part of the public...
Anxiety in children is more common than many parents realizebut it’s also highly treatable. This in-depth guide...
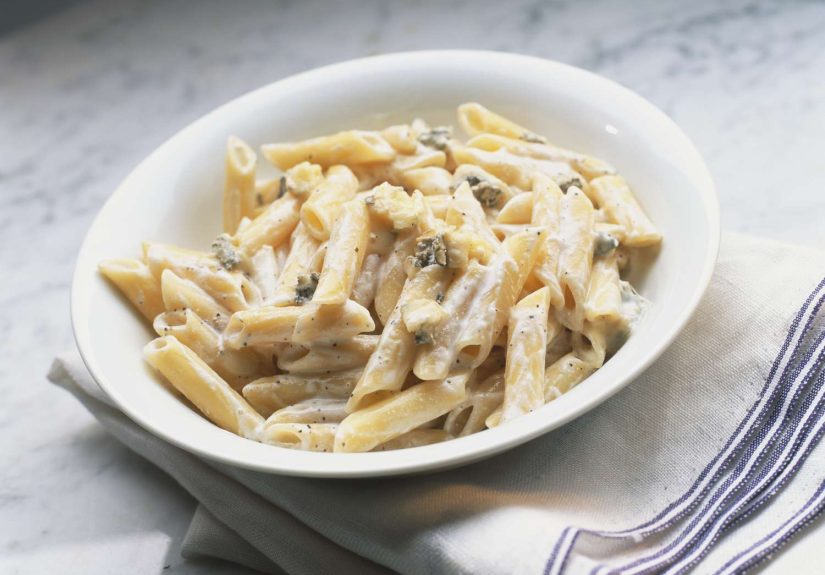
Craving a cozy pasta bake that tastes like you tried harder than you did? This creamy baked...

What’s the best thing you ever bought? It’s rarely the flashiest itemit’s the purchase that keeps paying...

Meet your new favorite comfort stew: gochujang gumbo. This Korean-Cajun twist keeps classic gumbo techniquedark roux, the...
The Johanna Grawunder Wan Suspension Lamp for Flos is a compact, minimalist pendant built for comfortable direct...

New driver insurance can be expensive, but you’re not stuck overpaying. Learn what raises rates, which insurers...
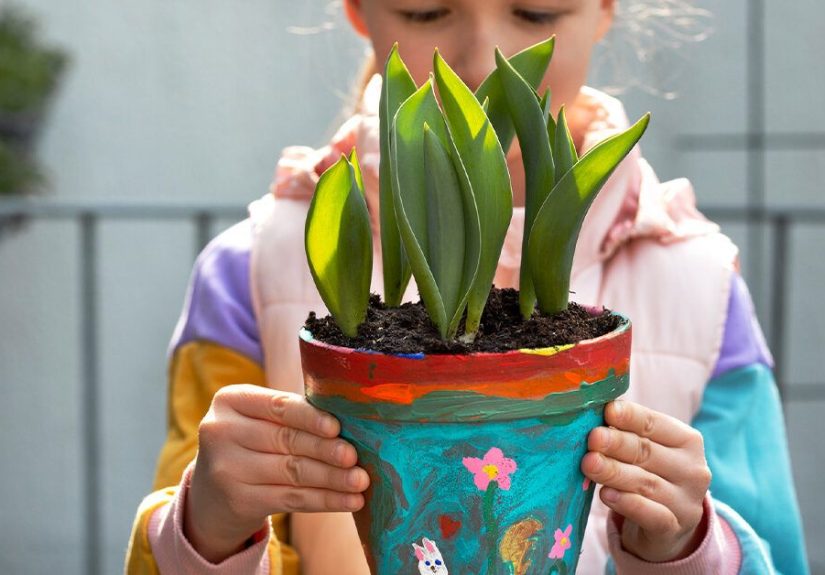
Want more rosemary without buying more plants? This foolproof DIY guide explains how to propagate rosemary from...