


Nitrofurantoin is a commonly prescribed antibiotic for uncomplicated bladder infections, but it is not a one-size-fits-all UTI...
Natural black striped linen fabric blends rustic texture with crisp graphic contrast. This detailed guide explains how...
Accidentally added too much salt? Don’t throw dinner away yet. This practical guide explains six smart ways...

A self-playing violin sounds like a magic trick, but it was real engineering genius. From the Hupfeld...

Government policy has been one of the biggest forces behind the rise of health care technology in...
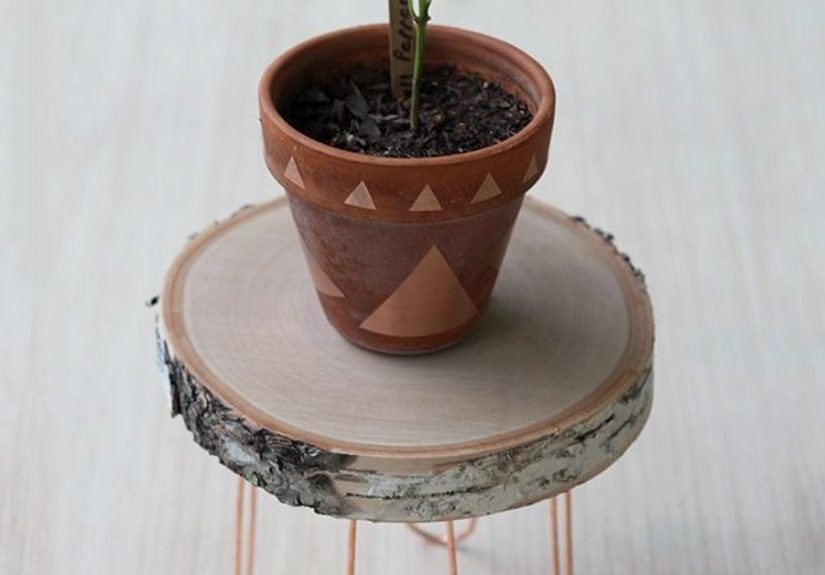
A DIY rustic modern plant stand is a simple woodworking project that adds warmth, height, and personality...

An inclusive classroom framework helps teachers design learning where every student belongs, participates, and grows. This guide...

Strattera, also known as atomoxetine, is a nonstimulant ADHD medication that can help improve focus and impulse...