Table of Contents >> Show >> Hide
- Who (and What) Is Andrea Toyphotography?
- What Makes Toy Photography So Addictive?
- The “Andrea Look”: Story, Scale, and Practical Wow
- Gear You Actually Need (No, You Don’t Need a NASA Lens)
- Lighting Toy Photos Like a Mini Movie Set
- The Tiny Problem: Depth of Field (and the Focus Stacking Fix)
- Composition Tricks That Make Toys Feel Full-Size
- Practical Effects (Without Turning Your Workspace Into a Disaster Movie)
- Editing: Where Toy Photography Becomes “Wait… That’s a Toy?!”
- A Simple Workflow You Can Copy (and Actually Use)
- Common Mistakes (and How to Fix Them Fast)
- How to Grow in the Toy Photography Community
- Experiences From the Toy Photography Trenches ( of Real Talk)
- Conclusion
Some photographers chase sunsets. Some chase strangers in cool hats. And somelike Andrea Toyphotographychase a tiny Darth Vader who’s
absolutely one spilled drink away from a dramatic career pivot into beverage-based chaos.
If you’ve ever looked at a toy on a shelf and thought, “You, sir, have main-character energy,” you already understand the entire appeal of toy photography:
it turns plastic, paint, and imagination into a cinematic moment that feels weirdly real… and delightfully ridiculous.
This article is both a profile of the vibe behind Andrea Toyphotography and a practical guide to the techniques that make this genre work
lighting, focus stacking, forced perspective, and those “how is this even possible?” splash effects that look like a miniature movie budget showed up uninvited.
Who (and What) Is Andrea Toyphotography?
Andrea Toyphotography is a toy photographer and figure collector known for building story-driven scenesoften featuring fan-favorite
charactersthen photographing them like they’re starring in a blockbuster, not living on a desk next to a charging cable.
Andrea’s origin story is wonderfully relatable: after years of shooting different photography genres, she got back into creating during 2020starting with
LEGO builds, then pulling in beloved figures (especially the sci-fi see-you-in-court-for-merchandising kind). Toy photography didn’t stay a side quest for
long; it became the main hobby, and her work evolved into a recognizable style: strong mood, playful storytelling, and practical effects that look like tiny
miracles.
One of the most memorable creative lanes associated with Andrea Toyphotography is the “toys + drinks” conceptminiature action,
maximum drama, and a splash that steals the scene like an unpaid stunt performer.
What Makes Toy Photography So Addictive?
Toy photography (sometimes called action figure photography or miniature photography) is the art of photographing small subjects in a way
that feels alivedynamic posing, cinematic lighting, realistic environments, and (when you want to level up) practical effects like splashes, haze, or
“atmosphere.”
It’s addictive for three big reasons:
- Total control: Your subject doesn’t blink, complain, or ask for “just one more” after 97 takes.
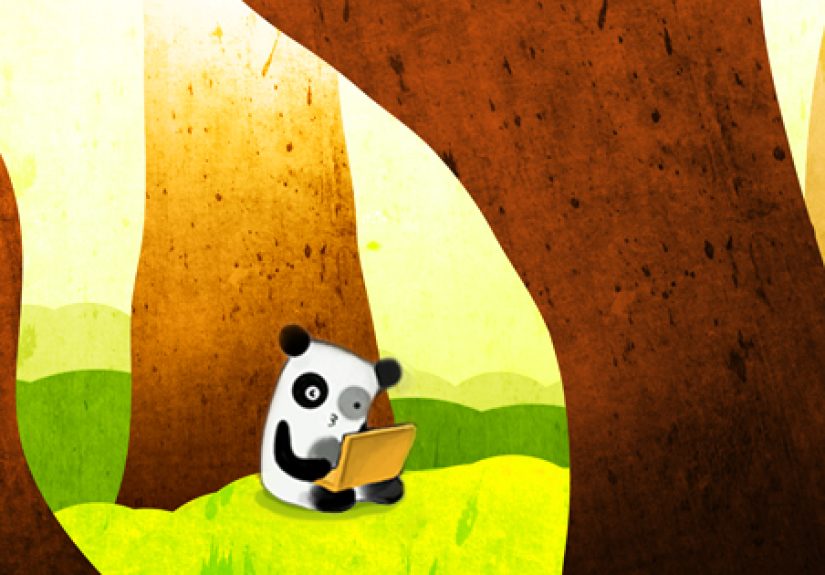
- Big creativity in a small space: A kitchen table can become a desert planet. A bookshelf can become a castle.
- Skill growth: Lighting, composition, macro technique, and editing improve fast because the margin for error is tinyliterally.
Think of it as filmmaking… but with fewer meetings and more tiny accessories that disappear into carpet dimension portals.
The “Andrea Look”: Story, Scale, and Practical Wow
When people mention Andrea Toyphotography, they often talk about the same three ingredients:
1) A clear story in one frame
The best toy photos read instantly: “hero triumphs,” “villain lurks,” “someone has made a very bad choice near a beverage.” The story can be epic or
comedic, but it’s always intentional.
2) Cinematic lighting
Toy photography looks most “real” when lighting matches the mood. A cool rim light makes armor pop. A warm key light feels like firelight. A subtle
backlight turns a figure into a legend (or at least a very dramatic piece of plastic).
3) Practical effects that feel physical
“Practical” means the effect is created in-camera (or at least mostly in-camera) instead of being painted in digitally later. Splashes, misty air, dust,
and texture can all push a toy photo from “nice” to “how did you do that?”
Gear You Actually Need (No, You Don’t Need a NASA Lens)
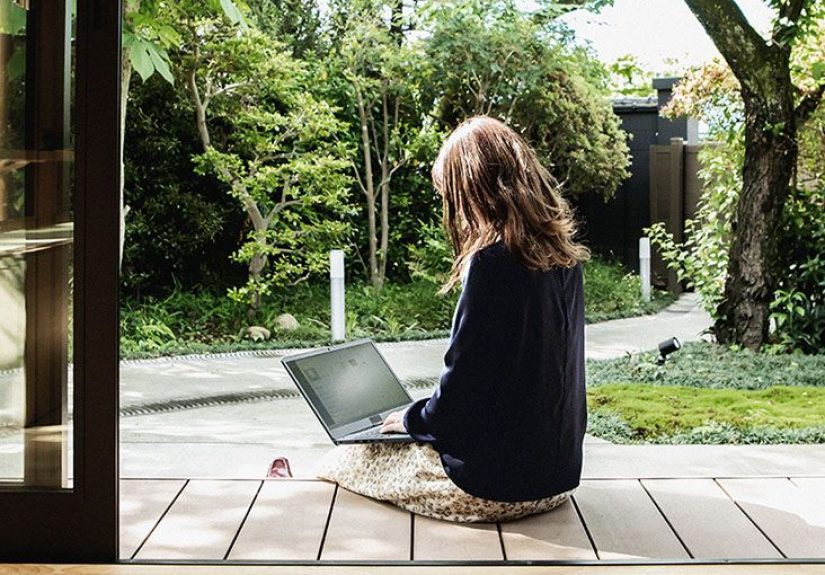
You can make strong toy photography with a smartphone, a mirrorless camera, or a DSLR. The key isn’t owning fancy gearit’s controlling light, stability,
and focus.
Camera + lens basics
- Smartphone: Great for quick storytelling and social posts. Use a tripod and a manual camera app if you can.
- Interchangeable-lens camera: Helpful if you want consistent sharpness, lens options, and cleaner editing files.
- Macro lens: Excellent for close details (faces, textures, tiny props).
- Standard zoom / prime: Often perfect for toy scenes because you’re not always shooting “true macro.”
Must-have supports
- Tripod: The unglamorous hero of toy photographyespecially for focus stacking and low light.
- Remote or timer: Reduces camera shake (and your chance of accidentally punting your set).
- Clamps / putty: Keeps props and figures stable. (Tiny actors are notorious for refusing to stand.)
Lighting essentials
- One light: A small LED panel or a speedlight can go a long way.
- A reflector: White card, foam board, or even kitchen foil for bounce fill.
- Diffusion: Softens harsh light. A cheap white shower curtain can be an MVP.
Lighting Toy Photos Like a Mini Movie Set
The fastest way to make toy photography look “real” is to light it like it’s capturing a scene, not documenting a toy. Here’s a simple approach:
Start with a three-light mindset (even if you only own one light)
- Key light: Main light direction. Sets the mood.
- Fill: Softens shadows. Can be a reflector instead of a second light.
- Rim / backlight: Separates the figure from the background and adds drama.
Use gels (or colored light) for instant “cinema”
A warm gel can simulate sunset or firelight. A cool gel can feel like moonlight. Mixed color temperatures can make a scene feel like it’s lit by street
lamps, neon signs, or spaceship panels. If you’ve seen Andrea Toyphotography scenes that feel cinematic, lighting is doing most of the work.
Match light to the story
Want a tense duel? Use hard light and deep shadows. Want cozy campfire vibes? Use warm, low-angle light. Want “giant splash interrupts everything” comedy?
Use brighter, cleaner light so the action reads instantly.
The Tiny Problem: Depth of Field (and the Focus Stacking Fix)
Toy photography often lives in the macro neighborhood, where depth of field becomes hilariously thin. You focus on the eyes…and the hands look like they
teleported into a different dimension.
Option A: Stop down your aperture (with a reality check)
Smaller apertures (like f/11 or f/16) can increase depth of field. But going too small can reduce light and introduce softness from diffraction. If you’ve
ever thought “why is everything still not sharp?”welcome to the club.
Option B: Focus stacking (the cheat code that isn’t cheating)
Focus stacking means you shoot multiple frames focused at different distances, then blend them into one image where the important parts are sharp. Many
photographers use it for macro, product photography, landscapes, andyestoy photography.
A practical toy photography stacking workflow
- Lock your camera on a tripod. Do not move it between shots.
- Set exposure manually so brightness doesn’t change between frames.
- Take a series of photos shifting focus from front to back across your scene.
- Blend the stack in editing software (Photoshop is a common pick).
This is one reason toy photos can look “too real” in the best waysharp textures, sharp faces, sharp props, sharp everything… like your brain expects from a
full-size scene.
Composition Tricks That Make Toys Feel Full-Size
Go low (toy-eye level)
The “standing above the toy looking down” angle reads like a toy. Drop your camera to the figure’s eye level, and suddenly it reads like a character.
Your knees will complain. Ignore them. They fear greatness.
Control your background
Backgrounds make or break toy photography. Clean paper backdrops are great for studio looks. Printed or screen backgrounds can create environments fast.
Real locations (a garden, gravel, a pile of rocks) can look surprisingly massive at toy scale if you frame them right.
Use forced perspective
Forced perspective is the art of faking scale by placing objects at different distances. A small rock close to the lens becomes a “boulder.” A tiny
building far away becomes a “city.” It’s basically optical illusion with better snacks.
Make one “read” instantly
In a good Andrea Toyphotography-style frame, the viewer doesn’t have to work to understand the moment. Clear subject, clear action, clear
mood. Then you can hide extra details for repeat viewers to discover.
Practical Effects (Without Turning Your Workspace Into a Disaster Movie)
Practical effects are part of the magicespecially in splash-heavy toy scenes. But “practical” doesn’t have to mean “reckless.”
Splashes
Water splashes are unpredictable, which is exactly why they look alive. The trick is to treat it like action photography: plan the frame, protect your
gear, and shoot lots of attempts. Keep electronics safe, use towels, and don’t put your favorite lens in the line of fire like it owes you money.
Smoke and atmosphere (safer alternatives first)
If you want moody “cinematic haze,” start with safe options: a little steam from a warm mug placed behind the set (carefully), a small desktop humidifier
kept at a distance, or haze added subtly in post. If you see creators using real fire or heavy smoke effects, don’t copy that setup casuallychoose safer
methods that get the look without the risk.
Texture and “world-building”
- Sand: Great for desert scenes (use a trayfuture you will be grateful).
- Baking soda or flour substitutes: Can mimic snow or dust (test first; keep it away from camera internals).
- Spray bottle mist: Adds “rain” or wet surfaces without a full flood.
The goal is realism at toy scale. A little texture goes a long waybecause tiny worlds are dramatic like that.
Editing: Where Toy Photography Becomes “Wait… That’s a Toy?!”
Editing isn’t about faking everything. It’s about finishing the illusion.
Common toy photo edits
- Clean-up: Remove dust, seams, fingerprints, and support rigs.
- Contrast + color grading: Push the mood so the lighting feels intentional.
- Dodge & burn: Sculpt highlights and shadows to make textures pop.
- Selective sharpness: Keep attention where the story is.
Stacking and blending
Focus stacking and image blending are especially helpful in toy photography because they solve the “tiny depth of field” problem while keeping the scene
crisp and believable.
A Simple Workflow You Can Copy (and Actually Use)
- Pick a micro-story: “Hero discovers glowing artifact” beats “random toy standing there politely.”
- Build the set: Keep it small, controlled, and camera-friendly.
- Lock your angle: Choose perspective firstthen arrange everything to look good from that viewpoint.
- Light for mood: Decide where your “sun” or “moon” is and commit.
- Shoot the base frame: Get a clean version before you add chaos (splashes, haze, motion).
- Add action: Capture the effect in multiple tries.
- Stack if needed: Blend focus frames for sharpness where it matters.
- Edit for cohesion: Make it feel like one world, one moment.
That’s the essence of toy photographyand why Andrea Toyphotography stands out: the work is playful, but the process is deliberate.
Common Mistakes (and How to Fix Them Fast)
“It looks like a toy on a table.”
Lower your camera, simplify the background, and add directional light. The angle + lighting combo changes everything.
“Nothing is sharp.”
Stabilize the camera (tripod), increase light so you can use lower ISO, and consider focus stacking for deeper scenes.
“The scene feels fake.”
Check shadows. Realism lives in consistent shadow direction and believable contrast. Also: watch for scale problemsone giant dust speck can ruin the
illusion like an accidental kaiju.
“My practical effects are chaos.”
They’re supposed to be chaosjust controlled chaos. Protect your gear, shoot many attempts, and treat it like action photography.
How to Grow in the Toy Photography Community
Toy photography thrives online because it’s visual storytelling that fits perfectly into feeds. Creators share behind-the-scenes setups, editing breakdowns,
and challenges that push skills fast.
- Consistency beats perfection: A steady posting rhythm builds momentum.
- Show BTS sometimes: People love seeing the “tiny set” behind the epic frame.
- Join prompts/challenges: They provide ideas when your brain is tired of inventing new galaxies.
- Develop a signature: Andrea’s “toys + drink + practical splash” concept is a great example of a recognizable lane.
Experiences From the Toy Photography Trenches ( of Real Talk)
If you spend enough time in toy photographyespecially in a style adjacent to Andrea Toyphotographyyou start collecting experiences that
feel like inside jokes shared by every miniature-world builder on Earth. First: your workspace will stop being “a desk” and become “a soundstage.”
Eventually, you’ll have a drawer that contains nothing but tiny accessories, bits of fabric, random rocks you found outside, and at least one mysterious
object you can’t identify but refuse to throw away because it might become a “crucial prop” in a future scene. (Spoiler: it won’t. But it could.)
Second: you’ll learn patience in a new way. Toy photography looks playful, but it’s full of micro-problems. A figure’s arm won’t hold the pose. A cape
won’t drape naturally. A prop keeps leaning like it’s tired of the storyline. The experience teaches you to solve problems gently: a small wedge, a bit of
tack, a clamp just out of frame, or a slight camera shift that hides the support. You start thinking like a stagehand and a director at the same time.
Third: lighting becomes your personality. At some point, you stop asking “Is this bright enough?” and start asking “Is this motivated?” You’ll
notice how a warm highlight can make a toy feel heroic, and how a cool rim light can make the same toy feel mysterious. You’ll test angles, swap diffusion,
and bounce light with whatever’s nearby. (Yes, that includes foil. No, you’re not fancy. You’re effective.)
Fourth: you become weirdly brave about experimentation, because the stakes are low and the payoff is high. You try forced perspective and accidentally
create a believable “mountain range” using a crumpled paper bag. You test a splash shot and discover that one frame out of fifty is pure magic. That’s not
failurethat’s the process. Toy photography teaches you that the “bad takes” are just the cost of getting the perfect moment.
Finally: you start seeing stories everywhere. A mug becomes a cave. A windowsill becomes a cliff edge. A kitchen sponge becomes a mossy boulder if you
shoot it right. That’s the lasting experience toy photography gives you: a habit of imagination. And when you look at the work of
Andrea Toyphotography, you can feel that habit in every frameplayful, cinematic, and crafted with the kind of joy that makes you want to
pick up a toy and say, “Alright, tiny actor. You’re up.”