Table of Contents >> Show >> Hide
- Why Cleaning Paint Brushes Is Important
- How to Clean Dried Up Paint Brushes
- Tips for Preventing Dried Paint on Your Brushes
- Common Mistakes to Avoid When Cleaning Paintbrushes
- Cleaning Different Types of Paint Brushes
- How Often Should You Clean Your Paint Brushes?
- Conclusion
- Personal Experiences and Tips for Cleaning Dried Up Paint Brushes
We’ve all been thereyour favorite paintbrush, the one you’ve used to create your masterpiece, is now caked with dried paint. Whether you’re an avid DIYer or a casual crafter, learning how to clean your dried-up paintbrushes is essential to ensure longevity and avoid wasting money on replacements. Fortunately, cleaning paintbrushes doesn’t have to be a chore, and it’s actually easier than you might think. So let’s dive into how to save those brushes and get them back to their original state!
Why Cleaning Paint Brushes Is Important
Paintbrushes, like many other tools, are an investment. When taken care of, they can last for years, giving you a smooth finish on every project. Dried paint, however, can cause bristles to stiffen and lose their shape, making them ineffective for future use. If you’re tired of constantly buying new brushes, cleaning them properly can save you both time and money.
How to Clean Dried Up Paint Brushes
1. Soak the Brush
The first step in restoring a dried-up paintbrush is to soak it in a solvent appropriate for the type of paint you’ve used. For water-based paints (like acrylics), warm water will often do the trick. For oil-based paints, you’ll need a stronger solvent, such as mineral spirits or turpentine. Soak the brush for at least 30 minutes to loosen the dried paint.
2. Scrape off Excess Paint
Once the paint starts to soften, take a palette knife or a brush comb and gently scrape off any excess paint. Be sure to work carefully so you don’t damage the bristles. If necessary, you can dip the brush back into the solvent to help with the removal process.
3. Wash with Soap and Water
After the majority of the paint is gone, it’s time to wash the brush. Use a mild dish soap or specialized brush cleaner and warm water to gently wash away any remaining paint and solvent. Lather the soap into the bristles and rinse under warm running water. Keep rinsing until the water runs clear and free of paint residue.
4. Condition the Bristles
To prevent the bristles from becoming too stiff after cleaning, apply a small amount of fabric softener or a commercial brush conditioner. Work it into the bristles with your fingers and rinse it out with cool water. This will help maintain the softness and shape of the bristles, ensuring that your brush is good as new.
5. Dry Properly
Once you’ve cleaned your brush thoroughly, it’s time to let it dry. Hang the brush by its handle or lay it flat on a clean surface to allow the bristles to dry naturally. Avoid drying the brush in an upright position, as water can seep into the handle and loosen the glue that holds the bristles in place. A properly dried brush will be ready for your next painting project.
Tips for Preventing Dried Paint on Your Brushes
While cleaning your brushes is essential, prevention is always better than cure. Here are a few tips to keep your brushes in tip-top condition:
- Clean Brushes Immediately: Don’t wait until the paint dries completely. Clean your brushes as soon as you finish your project to avoid having to deal with caked-on paint.
- Use Brush Covers: When taking breaks during a painting project, wrap your brush in plastic or aluminum foil to prevent the paint from drying.
- Store Brushes Properly: Hang brushes by their handles or lay them flat to avoid deforming the bristles. Avoid storing them standing up, as this can cause them to lose shape.
Common Mistakes to Avoid When Cleaning Paintbrushes
While cleaning brushes is a relatively simple task, there are a few common mistakes that can lead to damage or ineffective cleaning:
- Using Too Hot or Too Cold Water: Extremely hot or cold water can damage your brush. Stick to warm or room temperature water for the best results.
- Over-Soaking the Brush: Leaving your brush in the solvent for too long can cause the bristles to weaken or lose their shape. Aim for a 30-minute soak.
- Using Harsh Chemicals: While mineral spirits and turpentine are effective for oil-based paints, be sure to use them in moderation. Overuse of strong chemicals can cause damage to the bristles.
Cleaning Different Types of Paint Brushes
1. Synthetic Brushes
Synthetic brushes are typically used with water-based paints. These brushes are easy to clean with warm water and soap. However, they can become stiff if not cleaned properly, so make sure to use a brush conditioner or fabric softener to keep them soft.
2. Natural Hair Brushes
Natural hair brushes are often used for oil-based paints. They require a bit more care when cleaning since you’ll need to use solvents such as mineral spirits. After cleaning, always apply a conditioner to keep the bristles soft and flexible.
3. Specialty Brushes
Brushes used for specific tasks, such as detail brushes or sponges, need to be cleaned gently. Use the appropriate cleaner for the paint type, and be careful not to damage the fine bristles or sponge material.
How Often Should You Clean Your Paint Brushes?
It’s a good idea to clean your brushes after every use to prevent paint from drying and caking on. If you plan to take a break in the middle of a project, wrapping your brushes in plastic will keep the paint from drying. Brushes used for oil paints or varnishes may require more intensive cleaning due to the longer drying time of these paints.
Conclusion
Learning how to clean your dried-up paint brushes can save you money and improve the quality of your future painting projects. By following these simple steps and tips, you can restore your brushes to their former glory, allowing you to continue creating beautiful works of art. Remember, proper brush care isn’t just about cleaningit’s about taking care of your tools to ensure they last for years to come!
sapo: Don’t let dried paint ruin your brushes! Follow these easy steps to clean your brushes and restore them to top condition. Keep your brushes lasting longer and your projects smoother.
Personal Experiences and Tips for Cleaning Dried Up Paint Brushes
Over the years, I’ve had my fair share of paintbrushes that were almost beyond saving, but with a bit of patience and the right techniques, I’ve managed to revive many of them. One of the best tricks I’ve learned is to always soak the brush first in warm water (or solvent, depending on the type of paint) before using a palette knife to gently scrape off the dried bits. This makes a big difference and saves me from using excessive force, which could damage the bristles.
Another tip I swear by is using a brush comb. After I’ve soaked and scraped off the excess paint, I always run a brush comb through the bristles. It’s an extra step, but it helps untangle and reshape the bristles, ensuring my brushes remain in the best possible condition.
I’ve also found that drying the brushes upside down is essential. While you might think it’s okay to just lay them flat, hanging them allows any water or solvent to drain out naturally, avoiding any potential damage to the handle or the bristles. This simple step has kept my brushes in fantastic condition, even after years of use.
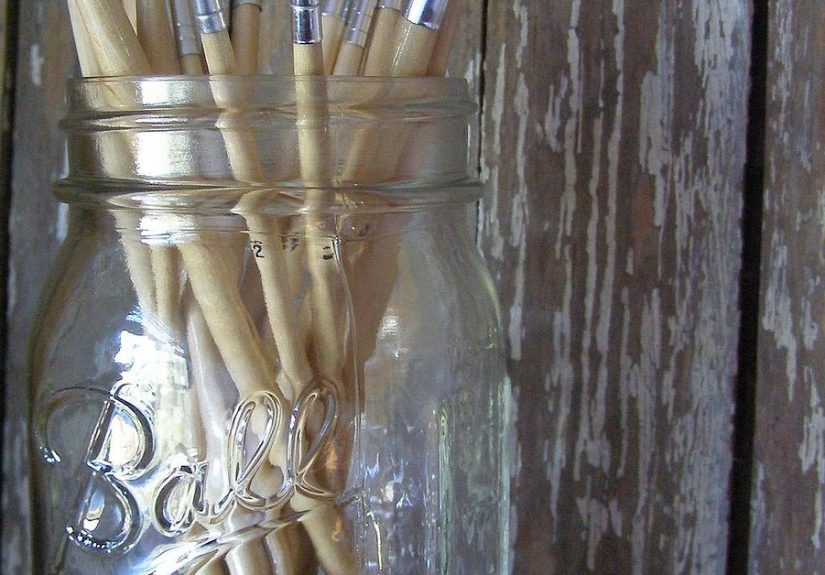
Lastly, I can’t emphasize enough how important it is to store brushes properly. I’ve tried everything from storing them in jars to hanging them, but the best solution I’ve found is keeping them in a brush organizer, where the bristles are protected, and they’re easy to grab when I’m ready for my next project. It really makes a difference in maintaining their shape and ensuring longevity.