

Can you really wake up looking better than when you went to bed? A smart nighttime routine...
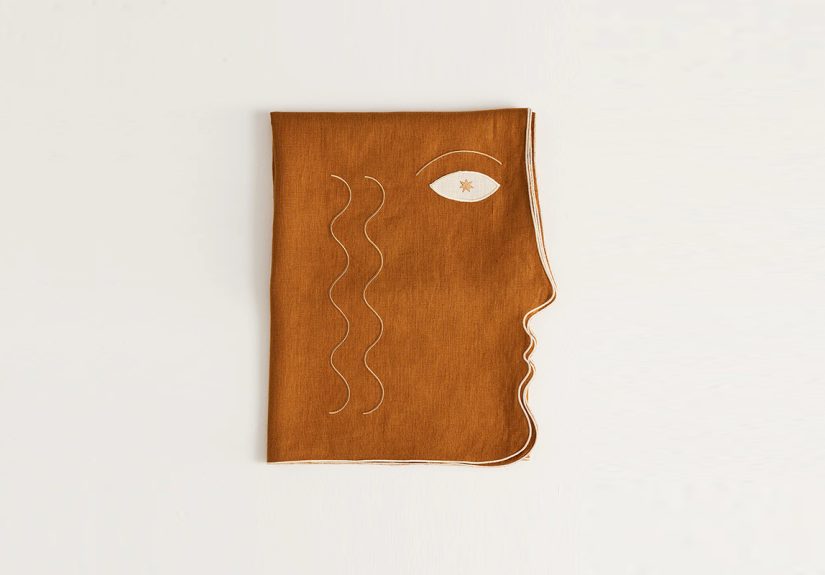
Maison Balzac turns table linens into tiny works of surrealist theater. From hand-shaped cocktail napkins and lobster...
From a door plug blowout to severe turbulence, runway collisions, a lost wheel, and a dramatic near-miss,...

Costco’s enormous 166-piece Le Creuset Ultimate Cookware Set arrives in eight boxes on a pallet and promises...
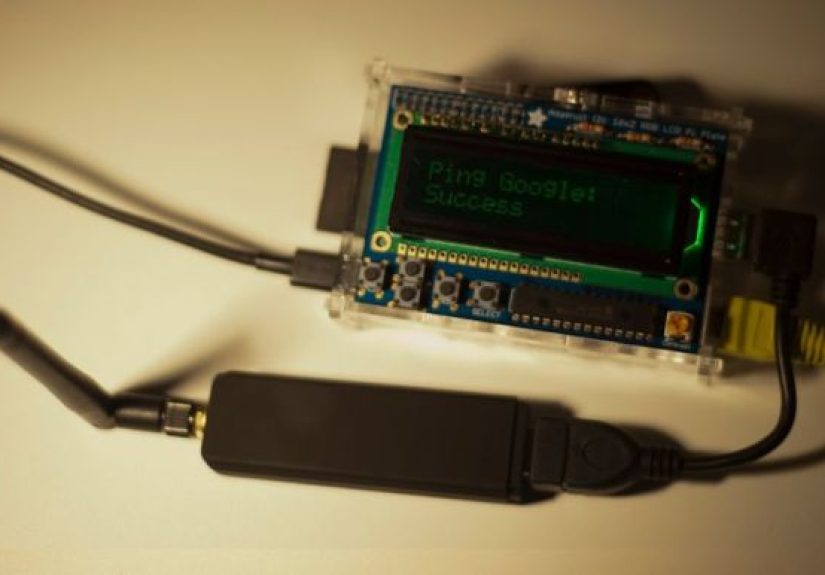
A Rogue Pi turns a Raspberry Pi into a compact, authorized pentesting dropbox for internal network security...

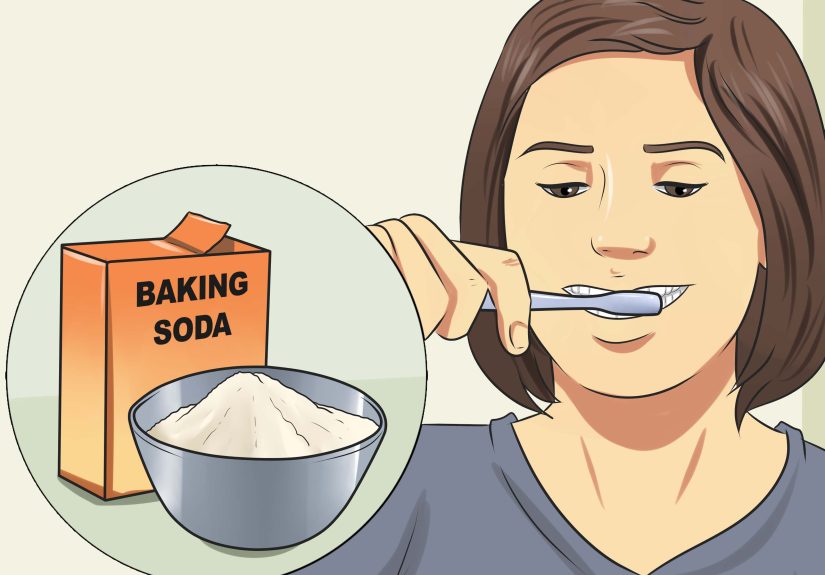
Mammograms can feel awkward, confusing, and a little intimidating, but they remain one of the most important...
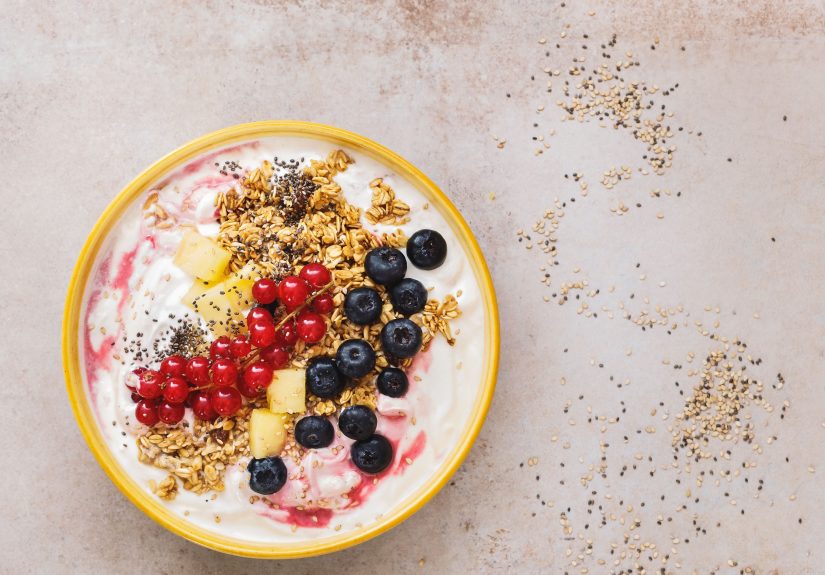
Yogurts with Lactobacillus acidophilus can be a simple, tasty way to support gut health without turning your...
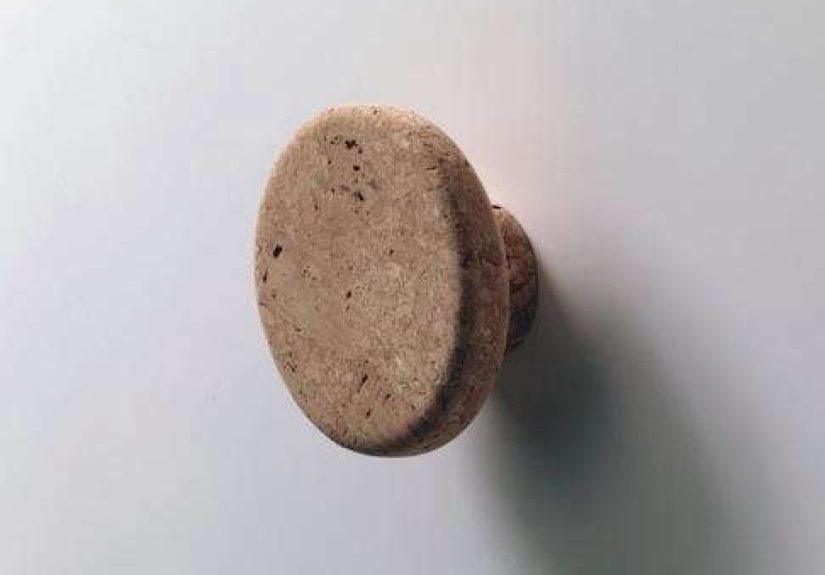
Jasper Morrison’s cork knob for Pamar turns an overlooked piece of cabinet hardware into a tactile design...