


Thinking about joining Costco but not thrilled about the annual fee? Here’s the good news: a limited-time...
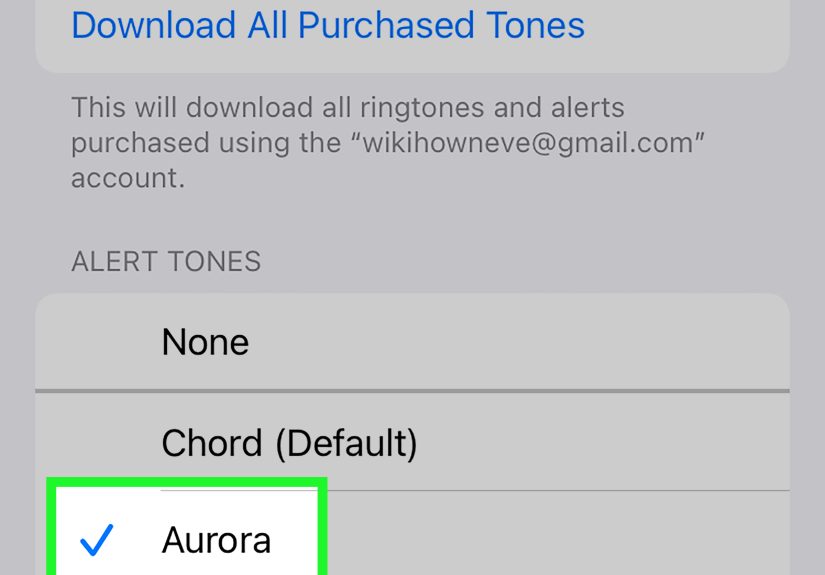
Missing important events because your iPhone calendar alert is too soft or too easy to ignore? This...
Sore after a root canal? You’re not alone. Mild tenderness and sensitivity for a few days can...
Tired of lag, error codes, and mysterious console drama? This in-depth guide walks you through the most...
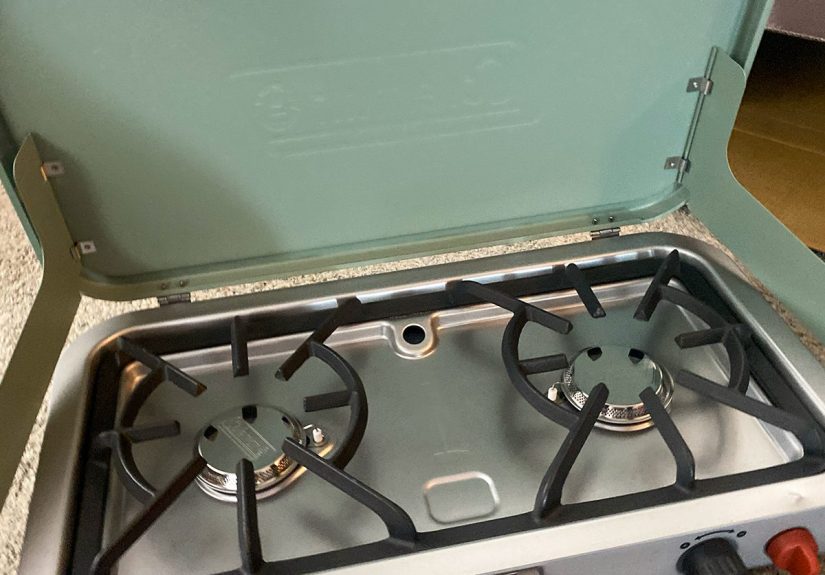
Want to film a custom rocket stove build video people actually finish? This guide shows how to...

Aegean bed linens blend crisp coastal style with breathable comfortthink white, sand, and deep-sea blue. This guide...
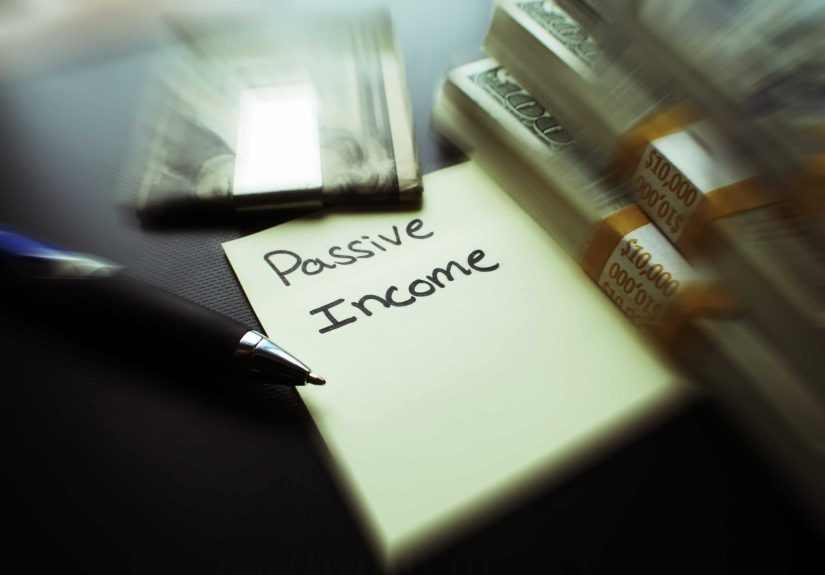
Passive income is not magic money, but it can be a smart way to build extra cash...