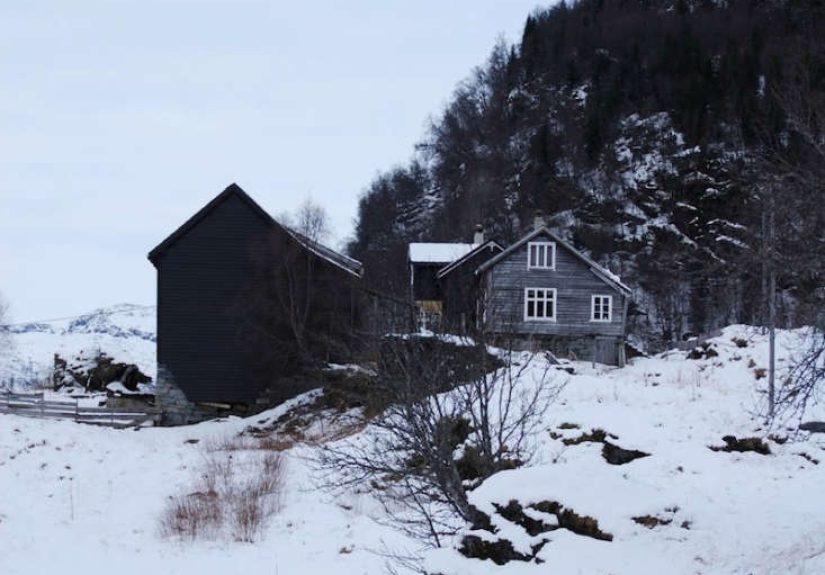


Step inside a snowy Norwegian mountain home where Christmas arrives through candlelight, wool, paper stars, branches, and...
Some mysteries fade when new evidence appears. Others only get stranger. This deep dive explores 10 real...
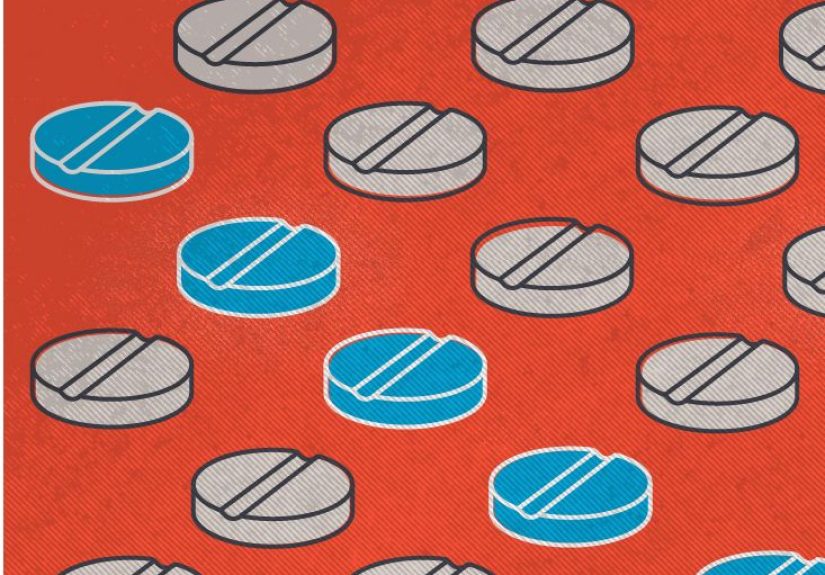
Pregnant or breastfeeding and taking Klonopin (clonazepam)? You’re not aloneand you’re not “doing it wrong.” This guide...
Switching to USB-C did not instantly erase a decade of Lightning cables, earbuds, and accessories. This guide...
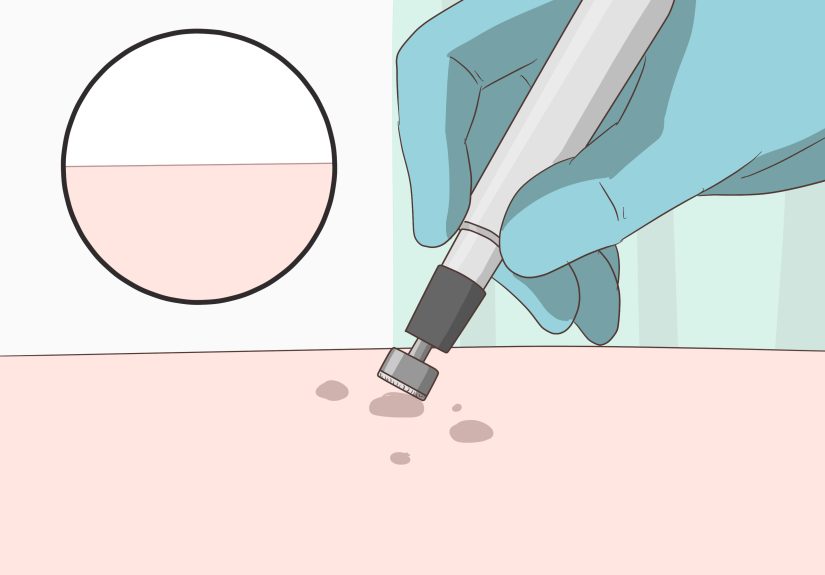
Back acne scars aren’t one thingthey’re a mix of dark marks, red marks, and true texture scars....

A woman’s long-awaited vacation turned into family drama when her sister expected her to babysit three kids...

Minimalist shower fixtures can turn a bathroom from ordinary to architectural without shouting for attention. This guide...

Concierge medicine promises faster appointments, longer visits, and a closer doctor-patient relationship, but it also raises big...

This in-depth guide breaks down the design magic behind a perfected studio kitchen in Philadelphia, from pale...

Why are more millennials questioning capitalism, discussing socialism, and occasionally flirting with the word communism? This in-depth...