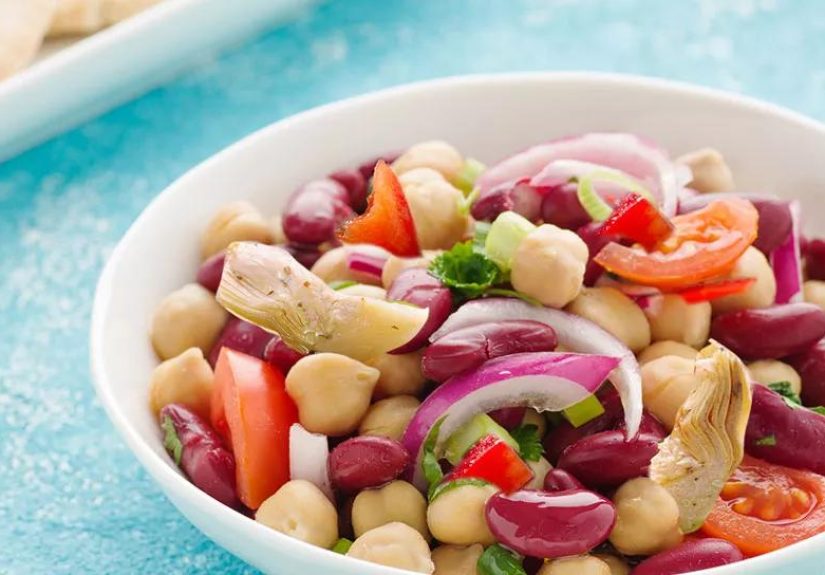


Fresh, hearty, and meal-prep friendly, this Veggie, Bean and Artichoke Salad combines chickpeas, cannellini beans, crisp vegetables,...
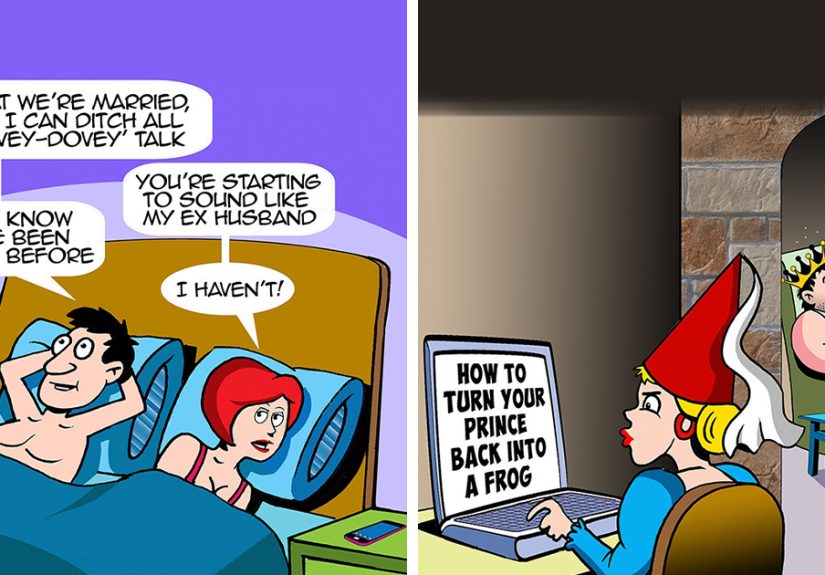
Mark Lynch’s one-panel comics prove that a single drawing can carry a surprisingly big laugh. From talking...
Medicare certified means more than a provider simply accepting Medicare. It shows that a healthcare organization or...
Sales KPIs are the numbers that separate confident growth from educated guessing. This guide explains 38 essential...
Feeling buried under laundry piles, snack wrappers, random cords, and that one chair holding half your wardrobe?...

Physicians earn well but often feel cash-poor thanks to debt, taxes, and time constraints. Multifamily syndications offer...

Cleaning your tongue can help reduce coating, improve freshness, and make your whole mouth feel cleaner, but...

Should you pay someone to do your taxes or file them yourself? The answer depends on how...

Bad credit doesn’t have to be permanentor mysterious. The fastest, most reliable way to boost your credit...
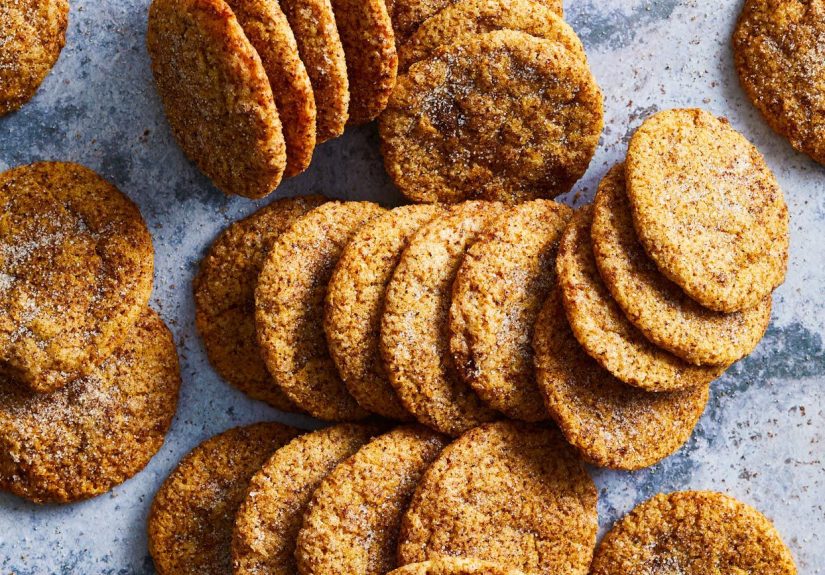
Out of espresso powder? You can still build rich, bold flavor in brownies, cakes, cookies, frostings, and...