Table of Contents >> Show >> Hide
- Why Disney Characters Are So Recognizable
- What You Need Before You Start
- Step-by-Step: How to Draw Disney Characters
- Easy Disney Character Examples to Practice
- Common Mistakes When Drawing Disney Characters
- How to Improve Faster
- Experience: What Drawing Disney Characters Feels Like in Real Life
- Final Thoughts
- SEO Tags
If you have ever sat down to draw Mickey, Ariel, Stitch, or Olaf and somehow ended up with a creature that looked like it escaped from a parallel universe, welcome. You are among friends. Learning how to draw Disney characters is not about having magical hands or being born with a pencil in your fist. It is about understanding how appealing character designs are built: simple shapes, clear proportions, expressive faces, and poses that feel alive.
The good news is that Disney-style character drawing is much less mysterious than it looks. The best tutorials from professional animators tend to start the same way: basic construction, a clear emotion, and a design that reads instantly. In other words, before you worry about eyelashes, buttons, or heroic jawlines, you need a solid drawing underneath. Think of it as building the castle before adding the fireworks.
In this guide, you will learn a practical, beginner-friendly process for drawing Disney characters, plus tips for making your sketches look more polished, more expressive, and less like sleepy potatoes in costume. We will cover tools, proportions, faces, movement, and a few character-specific examples so you can start sketching with more confidence right away.
Why Disney Characters Are So Recognizable
Disney characters are memorable because they are designed to be readable at a glance. Even in silhouette, you can often tell who is who. Mickey feels round, cheerful, and simple. Ariel has flowing curves and elegant movement. Stitch is compact, energetic, and slightly chaotic in the best possible way. Olaf is basically a stack of snowballs with a huge personality, which is honestly an inspiring life philosophy.
Most Disney-style characters rely on a few visual principles:
- Simple shapes: circles, ovals, teardrops, bean shapes, and soft triangles do a lot of heavy lifting.
- Clear shape language: rounded shapes feel friendly, pointed shapes feel sharper or more intense, and mixed shapes create contrast.
- Strong expressions: the eyes, brows, and mouth do not just decorate the face; they tell the story.
- Appealing proportions: features are often exaggerated in a controlled way, with larger eyes, cleaner forms, and readable poses.
- Movement: even a still drawing should feel like the character could start walking, spinning, or singing at any second.
Once you understand these principles, drawing Disney characters becomes less about copying and more about construction. That is when things start getting fun.
What You Need Before You Start
You do not need expensive tools to begin. A pencil, eraser, paper, and a little patience are enough. If you draw digitally, a basic tablet and any sketching app will do the job just fine.
Simple Supplies for Beginners
- HB or 2B pencil for sketching
- Soft eraser for lifting construction lines
- Smooth sketch paper or printer paper
- Black fineliner or darker pencil for cleanup
- Colored pencils or digital brushes for finishing touches
Keep your setup simple. The star of this process is not your tool set. It is your ability to see shapes and build from them.
Step-by-Step: How to Draw Disney Characters
1. Start With the Character’s Basic Shapes
The biggest beginner mistake is jumping straight into details. That is how you end up drawing one perfect eye, one confused eye, and a head that no longer has room for either. Start with simple forms first.
Break the character into circles, ovals, bean shapes, cylinders, and triangles. Mickey Mouse, for example, starts beautifully with circles. Olaf begins as stacked round forms. Stitch can be blocked in with a large rounded head, a compact torso, and big ear shapes. Ariel begins with a softer oval head, a flowing torso line, and long curved shapes for hair and tail.
At this stage, keep your lines light. These are guide shapes, not your final art. If the sketch looks messy, that is normal. Messy construction is often a sign that you are actually building the drawing instead of decorating a guess.
2. Use a Line of Action
Before drawing arms, legs, and hair, draw one sweeping line that suggests the character’s movement. This is called the line of action, and it helps the pose feel lively rather than stiff.
If Ariel is curiously leaning forward, her action line may curve gently through her torso and tail. If Stitch is about to pounce, the line may be short, bent, and springy. If Olaf is waving excitedly, the line can tilt upward to support that cheerful energy.
This one step can instantly improve your Disney sketches. Without it, characters often look like they are posing for a driver’s license photo. With it, they look like they belong in a story.
3. Build the Head First
In Disney-style drawing, the head carries a huge amount of expression, so it deserves careful construction. Start with a circle or oval, then add a vertical center line and a horizontal eye line. These guides help place the features evenly and show the direction the face is turning.
For many classic Disney characters, the eyes sit lower than beginners expect, leaving more forehead above. That extra space helps create a youthful, appealing look. The nose is often simple and clean. The mouth is flexible and expressive. The cheeks and jawline should support the personality of the character rather than fighting it.
If the character is cute, charming, or playful, lean into softer curves. If the character is dramatic or intense, use a few sharper angles for contrast. The goal is not realism. The goal is appeal.
4. Make the Eyes Do the Heavy Lifting
If you want your Disney character drawing to feel alive, focus on the eyes and brows. They carry mood, intention, and attitude. A tiny eyebrow change can turn a neutral face into a worried, excited, annoyed, or dreamy one in seconds.
Here is a simple rule: do not draw the eyes as isolated stickers. Make them belong to the face. They should follow the curve of the head and relate to the cheeks, eyelids, and brow shape.
For example:
- Surprise: raised brows, wider eyes, slightly open mouth
- Mischief: one brow tilted, narrowed lids, smirk
- Kindness: relaxed brows, open eyes, soft smile
- Determination: angled brows, focused pupils, firm mouth
Disney characters rarely feel blank. Even when they are calm, there is usually a thought happening behind the eyes. Draw the feeling, not just the face.
5. Keep Proportions Clear and Intentional
Different Disney characters use very different body proportions, but the key is consistency. Decide early whether your character will be compact, elegant, lanky, childlike, or broad-shouldered. Once you choose a proportion style, stick with it throughout the drawing.
A helpful method is to divide the body into simple sections. Think of the upper body, midsection, and lower body as separate blocks. You can make each section taller, shorter, wider, or narrower depending on the character. That gives you a fast way to control personality through design.
For example, a heroic character may have a broader chest and stronger stance. A cute sidekick may have a bigger head and shorter limbs. A graceful princess may have longer lines and softer transitions between forms. Proportion is storytelling in disguise.
6. Simplify the Hands, Feet, and Clothing
Hands are the part where many artists suddenly decide maybe landscapes are their true calling. Stay calm. Simplify.
Think of hands as a mitten shape first, then divide into fingers. Start with the gesture of the whole hand before drawing individual digits. Feet can begin as wedges or rounded blocks. Gloves, shoes, bows, and costume pieces should support the overall shape language of the character, not clutter it.
In Disney-style art, small details work best when they reinforce the character. A bow should feel playful. A shoe should feel sturdy or elegant. A sleeve should help describe movement. If a detail adds noise without helping the design, cut it. Your drawing is not a yard sale.
7. Balance Straights and Curves
One of the smartest ways to make a character drawing more appealing is to combine straight lines and curved lines. Too many curves can make the design feel mushy. Too many straights can make it feel rigid. Together, they create rhythm.
Try pairing a straight back with a curved front, or a smooth arm with a sharper sleeve edge. That contrast helps the eye move through the drawing. It also adds a polished, intentional quality that makes the character feel designed instead of accidental.
8. Clean Up the Sketch and Add Final Lines
Once the construction works, lower the clutter and redraw the final lines with confidence. This is where you choose what matters most: the outer silhouette, the facial expression, and the most readable details.
Do not trace every sketch line blindly. Improve as you go. Straighten wobbling lines. Clarify overlaps. Push the smile a little more. Lift the eyebrow slightly. Clean line art should feel like a confident translation of the rough sketch, not a prison sentence served one line at a time.
Easy Disney Character Examples to Practice
Mickey Mouse
Mickey is one of the best starting points because his design is built from simple, iconic shapes. Use circles for the head and ears, then add the facial guideline, nose, smile, shorts, and gloves. The challenge is not complexity. It is keeping the shapes clean and the personality cheerful.
Olaf
Olaf is excellent for practicing stacked forms, asymmetry, and expression. His body is simple, but his face and gesture make him memorable. Focus on the tilt of the head, the placement of the twig arms, and the joyful energy in the brows and smile.
Stitch
Stitch is perfect for learning contrast. He combines round, cute forms with sharp ears, claws, and a mischievous expression. Start by getting the head shape and ear placement right. Then work on the eyes and mouth so he feels lovable instead of mildly alarming.
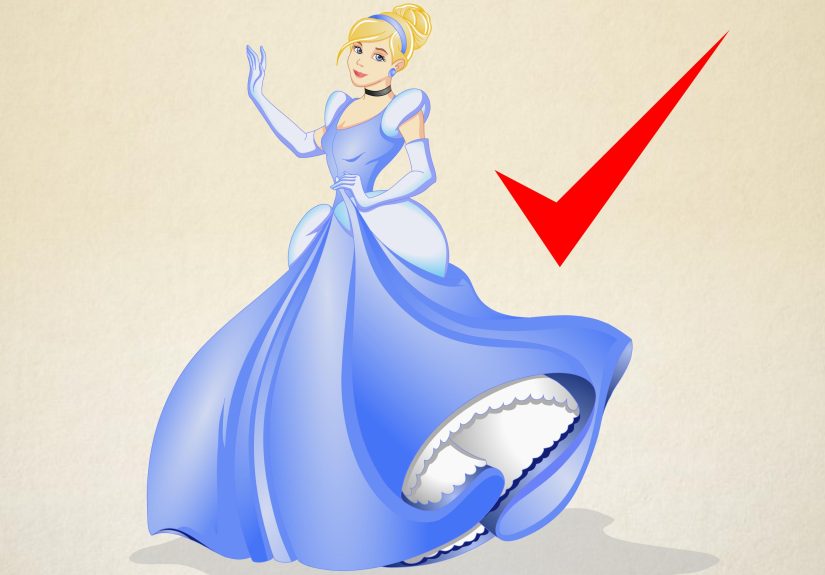
Ariel
Ariel is a strong study in flow. Her hair, posture, and tail all create graceful curves. When drawing her, think about elegance and movement before detail. If the overall pose flows well, the drawing will already feel more believable before you even add the shell top or facial features.
Common Mistakes When Drawing Disney Characters
- Starting with details too early: always build with shapes first.
- Ignoring expression: a technically correct face can still feel lifeless.
- Making both sides perfectly symmetrical: a little asymmetry adds life.
- Skipping the pose: even a great head looks odd on a stiff body.
- Overcomplicating the design: clean, readable drawings are usually stronger.
- Using heavy lines too soon: light sketching gives you room to fix things.
How to Improve Faster
If you want to get better at drawing Disney characters, repetition matters more than inspiration. Do quick studies. Draw the same head three times with different expressions. Sketch one character in five poses. Practice circles, gestures, hands, and silhouettes separately. Improvement often looks boring before it looks impressive.
It also helps to study why a design works. Ask yourself questions while drawing:
- What is the main shape of this character?
- What emotion is the face showing?
- Is the silhouette readable?
- Do the proportions match the personality?
- Where can I simplify?
That kind of observation turns random sketching into real skill-building.
Experience: What Drawing Disney Characters Feels Like in Real Life
There is a very specific experience that happens when you start learning how to draw Disney characters. At first, everything looks deceptively simple. You see Mickey and think, “Great, three circles. I have defeated art.” Then you draw him, and suddenly the ears are drifting, the smile is off-center, and Mickey looks like he has seen things. This is normal. In fact, it is almost a rite of passage.
One of the most valuable experiences artists have with Disney-style drawing is discovering that simplicity is harder than clutter. A detailed drawing can sometimes hide weak structure. A simple character cannot. If the head tilt is wrong, you see it immediately. If the eyes do not line up, the whole drawing feels off. That can be frustrating, but it is also incredibly useful because it trains your eye fast.
Another common experience is realizing how much emotion changes everything. You can draw the same character five times and get five completely different results just by shifting the brows, mouth, and pose. This is why practicing Disney characters can be such a strong exercise for beginners. You are not only learning to copy shapes. You are learning how visual storytelling works.
Many artists also notice that drawing these characters becomes more enjoyable once they loosen up. The first attempts are often too careful, too stiff, and too worried about perfection. But after a few pages of sketches, something changes. Your lines get bolder. You stop panicking over every eye. You begin thinking in curves, balance, and action instead of tiny details. That is when the drawings start to feel alive.
There is also a surprising confidence boost that comes from practicing well-known characters. Because you already know what Ariel or Stitch should feel like, you can tell more easily when your sketch is working. That immediate feedback helps you improve faster. It is like having a built-in art coach, except the coach is a snowman, a mermaid, or a blue alien with glorious chaos energy.
For many people, drawing Disney characters also reconnects them with why they wanted to draw in the first place. These characters are playful. They invite exaggeration, movement, humor, and warmth. They remind you that drawing is not only technical. It is joyful. You are not just measuring eyes and elbows. You are trying to make a character feel curious, brave, funny, dramatic, sweet, or gloriously weird.
Over time, the experience becomes less about drawing one perfect character and more about building your own artistic instincts. You start noticing shape language in everything. A backpack looks like a sidekick. A coffee mug has villain energy. A fluffy dog in the park suddenly seems one pencil sketch away from becoming the star of an animated movie. Once that switch flips, your sketchbook gets much more interesting.
So yes, learning how to draw Disney characters can absolutely sharpen your technical skills. But it also does something else: it teaches you to see personality in lines and shapes. And that is a skill you can carry into every kind of art you make, whether you are drawing fan art, picture books, original characters, or just trying to make your doodles look less like they need immediate medical attention.
Final Thoughts
Learning how to draw Disney characters is really about learning how to simplify, exaggerate, and communicate clearly. Start with shapes. Use a line of action. Build the head carefully. Let the eyes and brows carry emotion. Keep proportions intentional. Simplify details. Then practice again, and again, and maybe once more after that.
You do not need perfection to make charming character art. You need structure, expression, and a willingness to keep sketching even when your first few attempts look slightly haunted. Stick with it, and you will start seeing real progress. One day you will draw a character, lean back, and think, “Wait… that actually looks good.” That is the magic. No fairy godmother required.