Table of Contents >> Show >> Hide
- What Are Command Strips, Exactly?
- Know Which Type You Have Before You Start
- Where Command Strips Work Best
- Before You Apply Anything: The Golden Rules
- How to Use Command Picture Hanging Strips: Step-by-Step
- How to Use Command Hooks: Step-by-Step
- How to Remove Command Strips Without Damaging the Wall
- Common Mistakes That Make Command Strips Fail
- Best Uses for Command Strips
- When You Should Use Something Else
- Quick Tips for Better Results
- Real-World Experiences With Command Strips: What People Learn the Hard Way
- Conclusion
- SEO Tags
Note: This guide is based on real manufacturer guidance and practical U.S. home-improvement advice. Always double-check the exact package directions for your specific Command product before hanging anything.
Command Strips are one of those household inventions that make you feel oddly powerful. No hammer. No nails. No mysterious drywall dust drifting into your coffee. Just peel, press, wait, hang, and admire your work like the organized genius you were always meant to be.
But here is the catch: Command Strips work wonderfully when you use them correctly. When you rush the prep, ignore the weight limit, or slap them onto a questionable wall texture with pure optimism, the results can get dramatic fast. Think crooked frames, fallen décor, and that sad moment when your “damage-free” project suddenly becomes a patch-and-paint project.
This complete guide walks you through exactly how to use Command Strips the right way, including how to choose the right product, prep the wall, apply strips properly, hang pictures and hooks, remove them safely, and avoid the most common mistakes.
What Are Command Strips, Exactly?
Command Strips are removable adhesive hanging products designed to help you mount décor and organizers without nails, screws, or permanent wall damage. They are commonly used for framed art, posters, small wall décor, light organizational tools, bathroom accessories, and some outdoor decorations.
The important word there is “some.” Command products are not magical. They are engineered for specific surfaces, temperatures, moisture conditions, and weight limits. Using the wrong strip for the wrong job is like wearing flip-flops to hike a mountain. Technically possible. Spiritually unwise.
Know Which Type You Have Before You Start
1. Picture Hanging Strips
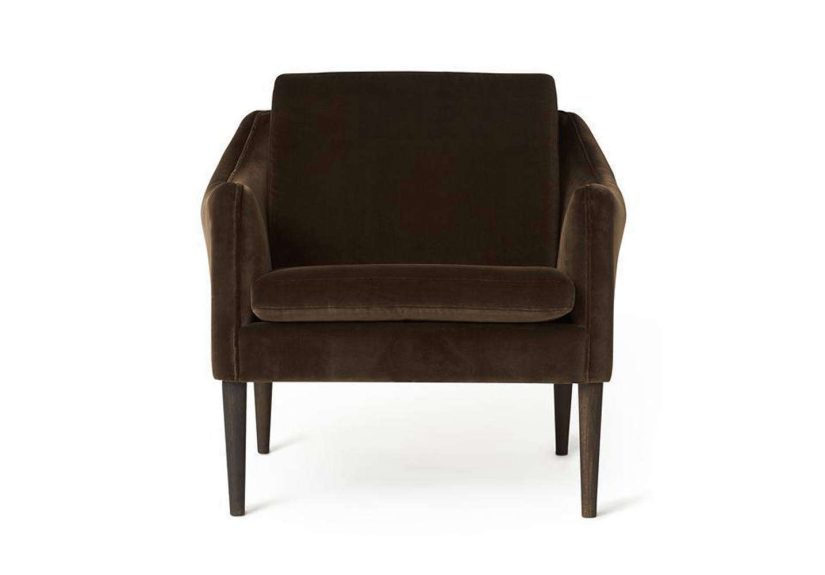
These are the ones with the click-together design. One side sticks to the wall, the matching side sticks to the frame, and the pair locks together. These are best for framed art, photos, mirrors, and lightweight wall décor that sits flat against the wall.
2. Poster Strips
These are meant for lightweight, flat items like posters, paper art, calendars, and classroom-style displays. They are not ideal for heavy frames or anything with depth.
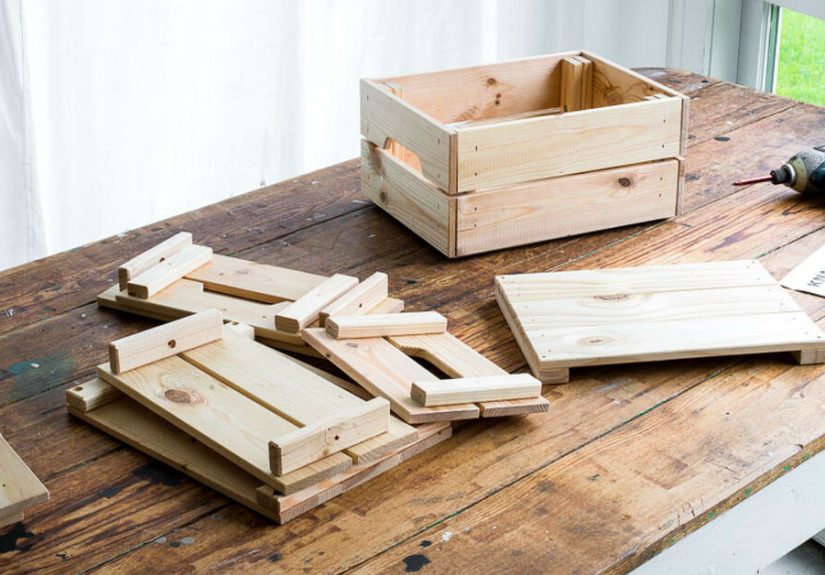
3. Hooks and Utility Strips
These are used for hanging keys, small tools, cords, lightweight seasonal décor, potholders, and similar items. Some are one-piece hooks, while others use a removable base and separate hook.
4. Bathroom or Water-Resistant Products
These are designed for bathrooms and damp areas. Use these if you are mounting something near a shower, sink, or humid area. Standard indoor strips are not the best choice for a steamy bathroom.
5. Outdoor Products
Outdoor Command products are made for exterior conditions and wider temperature swings. If the package does not specifically say outdoor, do not assume it can survive rain, heat, or cold like a little adhesive superhero.
Where Command Strips Work Best
Command Strips generally work best on smooth, finished surfaces. Good candidates often include painted walls, finished wood, glass, tile, metal, and some smooth laminates.
They do not perform well on rough, dusty, soft, or fragile surfaces. That means you should be cautious or avoid using them on:
- Wallpaper
- Brick
- Concrete with rough texture
- Popcorn ceilings
- Textured walls
- Fabric surfaces
- Soft frame backings, paper-backed art, or delicate finishes
If the surface feels bumpy, chalky, dusty, flaky, or fragile, Command Strips are already judging it.
Before You Apply Anything: The Golden Rules
Clean the Surface Properly
Use rubbing alcohol on a clean cloth or paper towel. Wipe the area gently, then let it dry completely. Do not use household sprays, disinfecting wipes, or soapy water because they can leave behind residue that weakens adhesion.
Wait After Painting
If the wall was recently painted, wait at least seven days before using Command products. Fresh paint and adhesive do not make good roommates.
Check the Temperature
Standard indoor products are typically meant for indoor use within a moderate temperature range. If the room is too cold, too hot, or too damp, performance can suffer. Outdoor and bathroom versions exist for a reason.
Check the Weight Limit
Always read the package. Weight limits vary by strip type and size. Some picture hanging strips are rated by each set, while heavier applications require multiple pairs. Bigger frame does not automatically mean better idea.
Do Not Hang Valuable or Irreplaceable Items
If the item is precious, antique, sentimental, or expensive, consider a more secure mounting method. Command’s appeal is convenience, not emotional risk management.
Do Not Hang Over Beds
This is one of the most overlooked warnings. Avoid hanging frames or décor over beds when using adhesive hanging products.
How to Use Command Picture Hanging Strips: Step-by-Step
Step 1: Choose the Right Strip Size
Match the strip size and number of pairs to the weight and size of the frame. As a general rule, larger or heavier frames need more pairs. Check both the weight rating and any recommended maximum frame dimensions on the package.
Step 2: Prep the Wall
Clean the wall with rubbing alcohol and let it dry. This is not the glamorous step, but it is the step that keeps your frame from belly-flopping off the wall at 2 a.m.
Step 3: Prep the Frame
Remove any hanging hardware from the back of the frame. Wires, sawtooth hangers, or bumps can interfere with adhesion and keep the frame from sitting flat. Also make sure you are not sticking the strips onto paper, fabric, or a soft backing.
Step 4: Click the Pairs Together
Separate the strips and press matching pairs together until they click. That click is your tiny plastic round of applause.
Step 5: Stick the Strips to the Frame
Peel off one side of the liner and apply the paired strips to the frame. For most frames, place them near the top corners and along the sides according to the package guidance. Press firmly.
Step 6: Press the Frame to the Wall
Remove the remaining liners, position the frame, and press it firmly to the wall.
Step 7: Remove the Frame Briefly and Reinforce
This is the step many people skip. Carefully peel the frame off from the bottom as directed so the frame separates from the wall-side strips. Then press the wall-side strips firmly for about 30 seconds.
Step 8: Wait Before Final Hanging
Wait about one hour so the adhesive can build strength. Then align the strips and press the frame back until each strip pair clicks together.
Step 9: Check It for Level
Use a level, painter’s tape guide, or paper template if you are hanging multiple pieces. For gallery walls, planning first saves you from turning your wall into a regret collage.
How to Use Command Hooks: Step-by-Step
Step 1: Clean the Surface
Again, rubbing alcohol is your friend. Let the area dry fully.
Step 2: Apply the Strip to the Hook or Surface
Follow the package instructions carefully because one-piece hooks, clear hooks, and outdoor hooks can differ slightly. In many cases, you press the strip to the hook first, then attach it to the wall.
Step 3: Press Firmly for 30 Seconds
Firm pressure matters. Not polite pressure. Real pressure.
Step 4: Wait Before Loading
Give the adhesive about one hour before hanging anything from the hook. This helps the bond strengthen.
Step 5: Add Only the Recommended Weight
Do not overload the hook. A hook rated for a few pounds is for lightweight utility, not for your winter coat collection, backup backpack, and a tote bag full of emotional baggage.
How to Remove Command Strips Without Damaging the Wall
Removal is easy if you do it exactly right. Removal is chaos if you yank.
For Picture Hanging Strips
- Grab the bottom corners of the frame.
- Peel the frame upward and away from the wall to separate the interlocking strips.
- Never pull the strip straight out from the wall.
- Stretch the exposed tab slowly straight down, keeping it close to the wall.
For Hooks
- Remove the item from the hook.
- If needed, slide the hook off its base depending on the design.
- Hold the base gently and stretch the adhesive tab straight down slowly.
If a strip is stubborn or the tab breaks, do not start chiseling at it like you are excavating ancient ruins. Some home experts recommend gently warming the adhesive with a hair dryer and using floss or fishing line carefully behind the adhesive area if needed. Work slowly and cautiously.
Common Mistakes That Make Command Strips Fail
Skipping the Alcohol Wipe
Dust, grease, and residue are the enemies of a strong bond.
Using Them on Textured Walls
Adhesive needs full contact. Texture reduces contact. Reduced contact leads to gravity winning.
Not Waiting Long Enough
Fresh paint needs curing time. Freshly applied strips need bonding time. Impatience is the usual villain in Command Strip stories.
Ignoring Weight Ratings
“It’s probably fine” is not a rating system.
Using the Wrong Product for Wet or Outdoor Areas
Standard indoor strips are not bathroom strips, and bathroom strips are not necessarily outdoor strips.
Hanging a Deep or Uneven Item
If an item does not sit flat, the force on the adhesive becomes uneven. That can weaken the hold over time.
Applying to Fragile Wallpaper or Soft Frame Backings
The strip may hold, but the surface underneath may not.
Best Uses for Command Strips
- Framed photos and art
- Light mirrors and canvas pieces
- Dorm room décor
- Apartment gallery walls
- Seasonal decorations
- Small kitchen or office organization
- Bathroom accessories with water-resistant versions
- Cord management and lightweight utility hanging
When You Should Use Something Else
Command Strips are excellent for convenience, but they are not the best choice for everything. Consider nails, anchors, screws, or specialty picture hangers when you are dealing with:
- Heavy art
- Oversized mirrors
- High-traffic areas where doors slam
- Heirlooms or expensive pieces
- Very textured or crumbly walls
- Items mounted over beds or cribs
Quick Tips for Better Results
- Use painter’s tape or paper templates before hanging a gallery wall.
- Measure twice before peeling the liner.
- Keep spacing between frames consistent.
- Press firmly for the full recommended time.
- Wait the full hour before loading hooks or reattaching frames.
- Choose bathroom or outdoor versions for those spaces.
- Save extra refill strips for redecorating later.
Real-World Experiences With Command Strips: What People Learn the Hard Way
One of the most common experiences people have with Command Strips is starting out a little too confident. The package says damage-free, the wall looks empty, and suddenly a person is convinced they can transform an entire room in 20 minutes with zero planning. Then comes the first lesson: prep matters more than enthusiasm. People often discover that the frame they hung in a hurry starts leaning or sliding because the wall was not cleaned properly, the strips were not pressed long enough, or the hour-long wait was treated like a polite suggestion instead of a rule.
Renters especially tend to love Command Strips because they feel like a shortcut around lease drama. In apartments and dorms, they can be a lifesaver for lightweight art, calendars, small organizers, and temporary décor. Many people say their best results come from using them on smooth painted walls, glass, tile, or metal surfaces where the adhesive can get full contact. Gallery walls are another favorite use. Once users start laying out frames with painter’s tape or paper templates first, they usually realize the finished result looks far better and requires much less redoing.
At the same time, experienced users almost always have a “well, that was humbling” story. Maybe it was a textured wall that looked smooth from across the room. Maybe it was a bathroom project done with standard strips instead of water-resistant ones. Maybe it was a heavy frame hung with fewer strips than recommended because someone wanted to “make it work.” These are the moments that teach the real Command Strip commandments: respect the weight chart, respect the surface, and never assume all strips are interchangeable.
Another common experience is the surprise of how useful hooks become once people stop thinking of them as just decoration tools. In kitchens, they help manage measuring cups, potholders, and lightweight utensils. In entryways, they hold keys and dog leashes. In home offices and bedrooms, they can tame cables, headphones, and everyday clutter. The product often starts as a wall-art solution and quietly becomes an organizational system.
Removal also tends to create strong opinions. People who follow the instructions usually report clean removal and feel like they have outsmarted home maintenance itself. People who yank straight out instead of stretching the tab slowly downward often become instant cautionary tales. The difference between those two outcomes is usually patience, not luck.
In the end, the most realistic experience with Command Strips is this: they are incredibly convenient when you treat them like a system instead of a shortcut. They are not meant to replace every tool in the garage, but for lightweight decorating and organizing, they can make life much easier. Used properly, they save time, protect walls, and make redecorating less intimidating. Used carelessly, they become a sticky little reminder that gravity is undefeated.
Conclusion
Learning how to use Command Strips is mostly about doing the small things right. Pick the correct product. Clean the wall with rubbing alcohol. Follow the exact placement steps. Press firmly. Wait long enough. Respect the weight limit. Remove them slowly and properly.
Do that, and Command Strips can be one of the easiest ways to decorate and organize without tools, holes, or a weekend repair project. Skip those steps, and your wall may end up hosting a very short-lived art exhibit.
Final note: For the best results, always check the specific packaging for the product you bought, because picture strips, hooks, bathroom products, and outdoor versions each have slightly different instructions and limits.